Creating a Project can be broken down into four segments: Customer, Variables, Tasks, Sharing.
To get started creating a project:
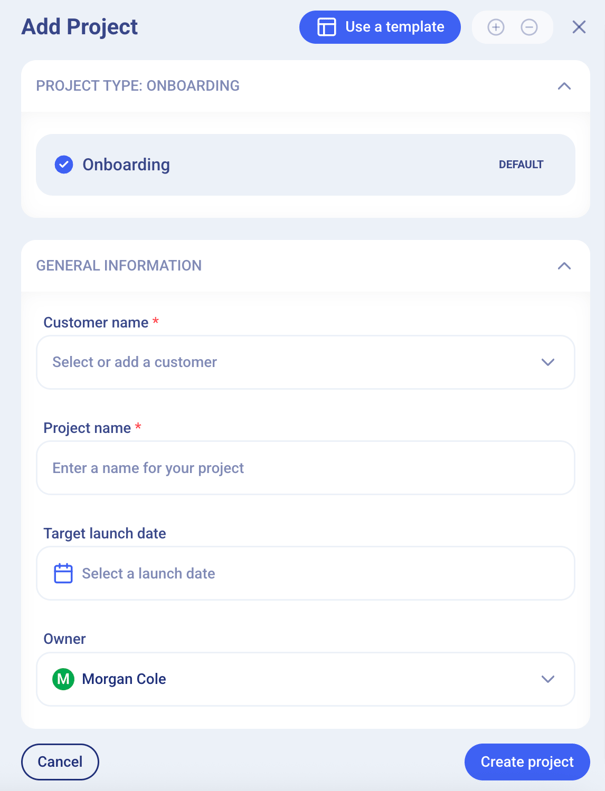
- Go to the Projects tab
- Click "+ Add Project"
- Enter the Customer name. If the Customer doesn't exist, click "+ Add Customer".
- Name your Project. Typically our customers will have a naming convention that they follow (i.e. Customer Name - Products Purchased)
- Set your target launch date.
- Once you complete the general information section, the only additional required field for you to complete is 'Customer Type' within the Variables section. You can select as many of the variables that will apply to this project. For more information on how variables relate to projects, check out this article here.
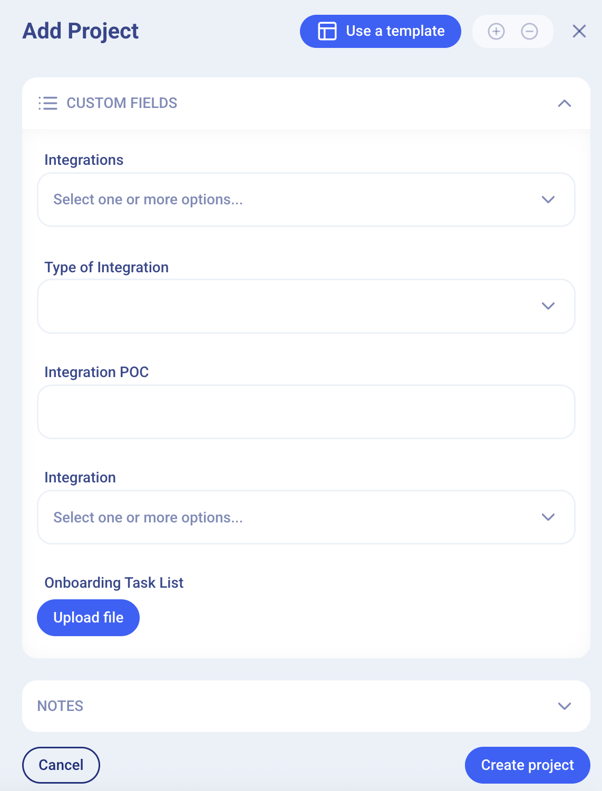
- Finally you can add or edit any custom fields or notes that apply to this project before finalizing the project by clicking the 'create project' button at the bottom left corner.
- After creating the Project, you'll be taken into the Project, where all of your internal and external tasks live.
Note: If you need to create a one-off task or section, scroll to the bottom of the Project and click the appropriate button.
Additionally, you can modify existing tasks by expanding the task, clicking the three dot menu in the upper right of the task panel, then clicking "Edit task". - If your company is using Onboard externally, you'll be able to invite your clients into their Project. To do this, simply click the "Invite Someone" button at the top, select your customer's tab, then enter their email. They'll receive an email with login instructions.
Note: The people you invite will be able to login without a username/password. They'll just need to click the magic link.